Photographing Star Trails – The Celestial Equator and Polaris
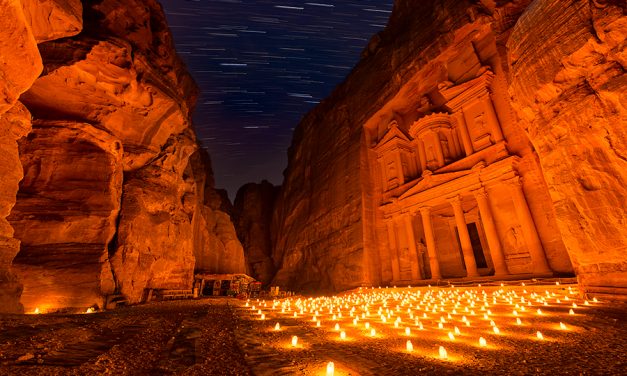
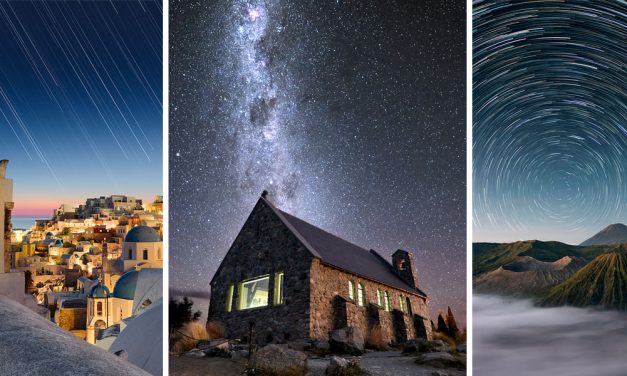
Most of us are familiar with astrophotography these days as we continue to see more and more photos of the Milky Way and night sky all over the internet and social media. Similarly, star trails being incorporated into night photography has become very popular as well. Photographing the stars can yield beautiful results. Let’s examine some examples that help us capture awesome Astrophotography and star trails.
Read More