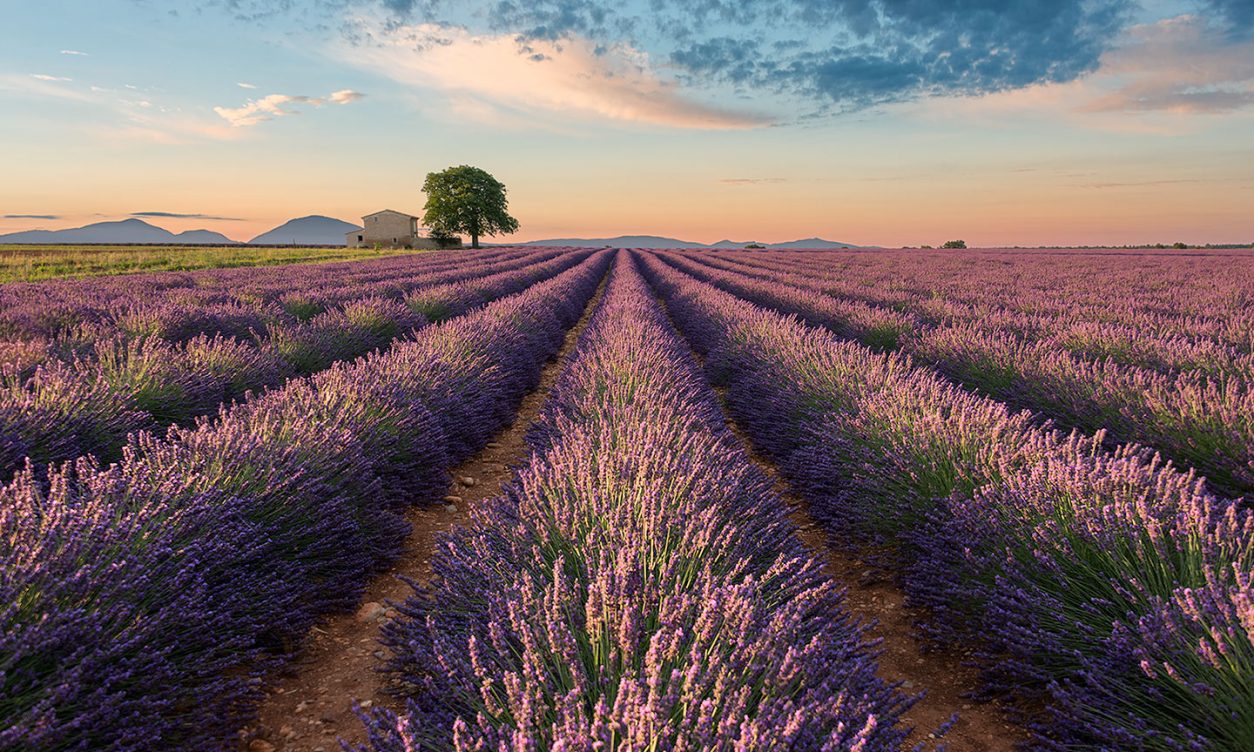
Colors of Valensole | France
Scouting shooting locations all the previous day, I was absolutely enchanted by the beautiful...
Read MoreScouting shooting locations all the previous day, I was absolutely enchanted by the beautiful...
Read MoreWhile I’ll never be sure whether it’s possible for a photographer to capture the heart of a...
Read More“The sky explodes with vivid colors as ocean waves wash over the St. Clair Beach pylons in...
Read MoreLast July in Indonesia, I spent 4 days shooting around Borobudur Temple, learning the surrounding...
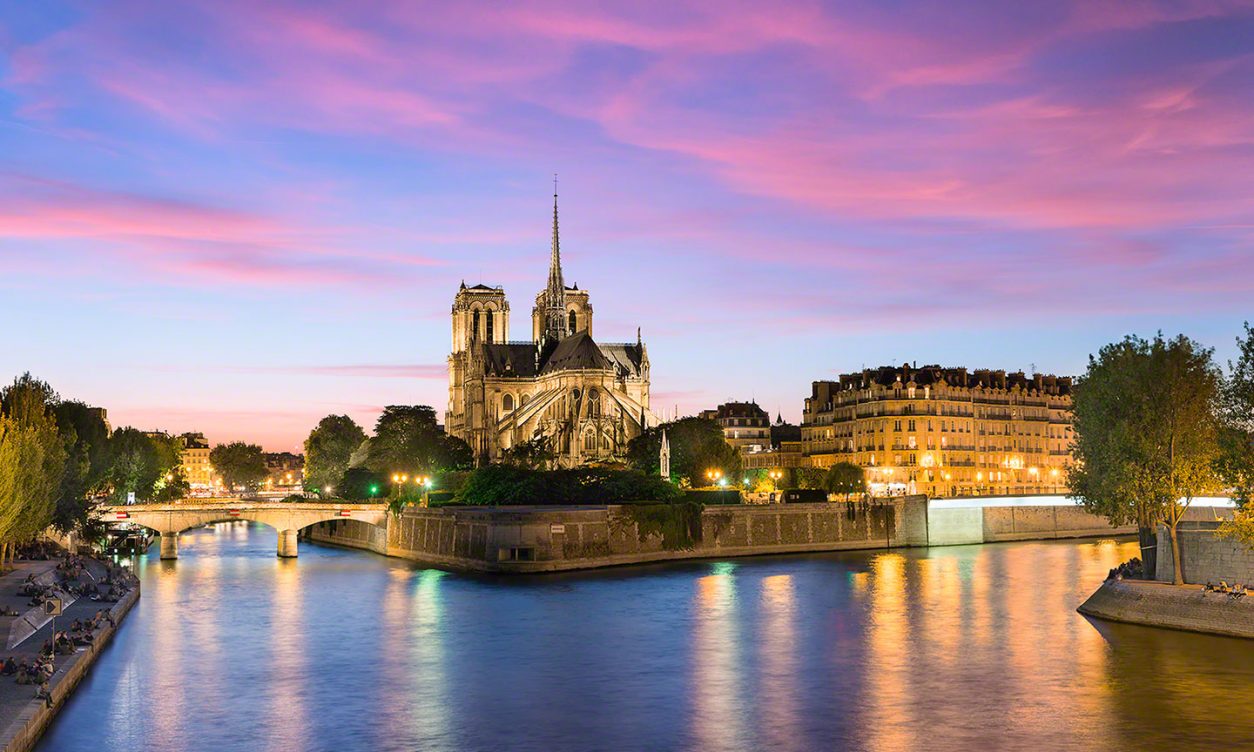
Read MoreAs I set up for this shot from Pont de la Tournelle, I was hoping for a powerful sunset. While the...
Read MoreI know that I’ve released quite a few different photos of Manarola over the years but I just can’t...
Read MoreThere are beautiful sunsets and then there are Santorini sunsets and over the years, the town of Oia has become world famous for them. In fact, thousands of travellers flock to this little Greek Island each season just for the...
Read More


 Snapchat: EliaLocardi - Get an ultimate Behind the Scenes look at my 100% location independent lifestyle as I travel the world full time, seeking out and capturing the most beautiful destinations on the planet.