Video Tutorial – Shooting and Raw Processing Workflow with Adobe Lightroom Mobile
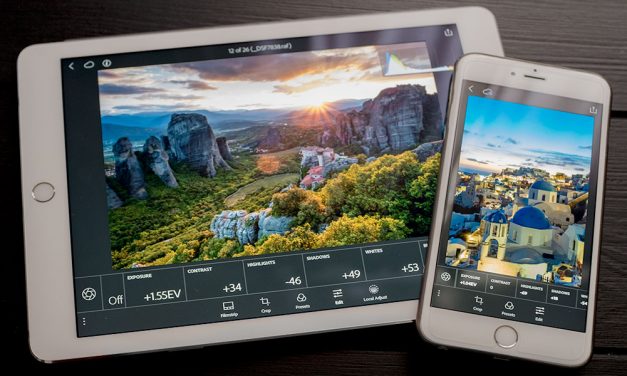
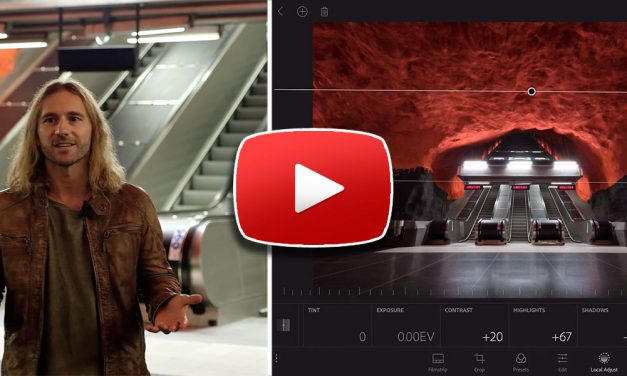
This video tutorial covers everything you need to know about working with Adobe Lightroom Mobile, all the way from shooting images in the field, transferring raw files to your mobile device, and syncing them to your desktop over the cloud. Not only that, this tutorial also takes things further by showing some of the Adobe Photoshop editing techniques I used to create one of my most famous photos from Stockholm, “Belly of the Beast.”
Read More