
The Heart of Santorini | Oia Greece
When people talk about the Greek Island of Santorini, they often say that it’s one of the most...
Read MoreWhen people talk about the Greek Island of Santorini, they often say that it’s one of the most...
Read More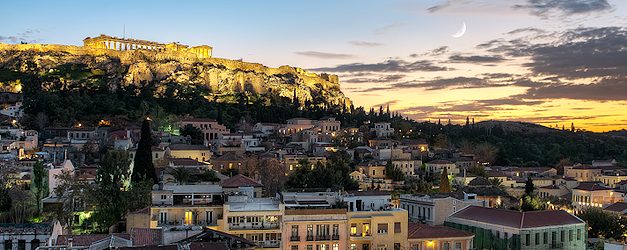
As a photographer, I’m thankful that I get to experience these amazing locations at their most beautiful moments. So how exactly did I find this particular view of the Acropolis in Greece?
Read MoreSometimes everything happens for a reason. Sometimes events line up perfectly to deliver something truly magnificent; a once in a lifetime opportunity. Every once in a while, if we’re really lucky, we have our cameras ready....
Read More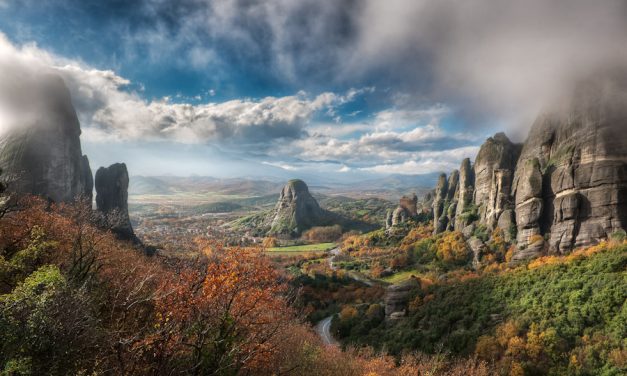
An Interesting Turn of Events. The sprawling valley suddenly became illuminated in the late...
Read More
Monkey Tips – Shooting Handheld HDR I like the freedom of shooting HDR Handheld. It gives me...
Read More
three stars & cheap wine Can you believe that this is the view from the roof of my (rather...
Read More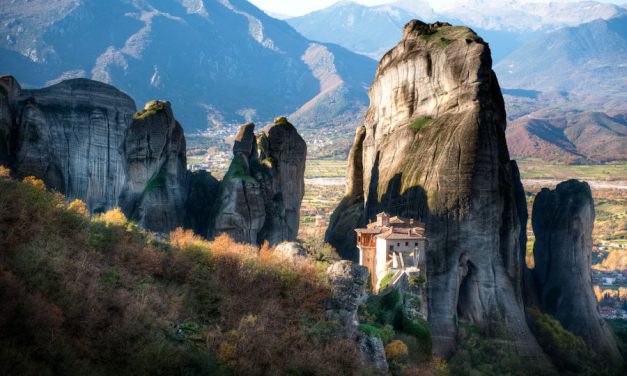
do the penguin Have you ever huddled close to someone for warmth like an Emperor Penguin? This...
Read More


 Snapchat: EliaLocardi - Get an ultimate Behind the Scenes look at my 100% location independent lifestyle as I travel the world full time, seeking out and capturing the most beautiful destinations on the planet.