The Blue Mosque | Istanbul, Turkey
Istanbul was awesome! I had a great time shooting there last week. The city is just shady enough to keep you on edge but not in an overly threatening way. Walking the streets at night, I never felt uncomfortable, just a bit on edge. This feeling blended perfectly with the scenery and atmosphere. It really gave it a unique feel that I thoroughly enjoyed. I really look forward to getting back there soon.
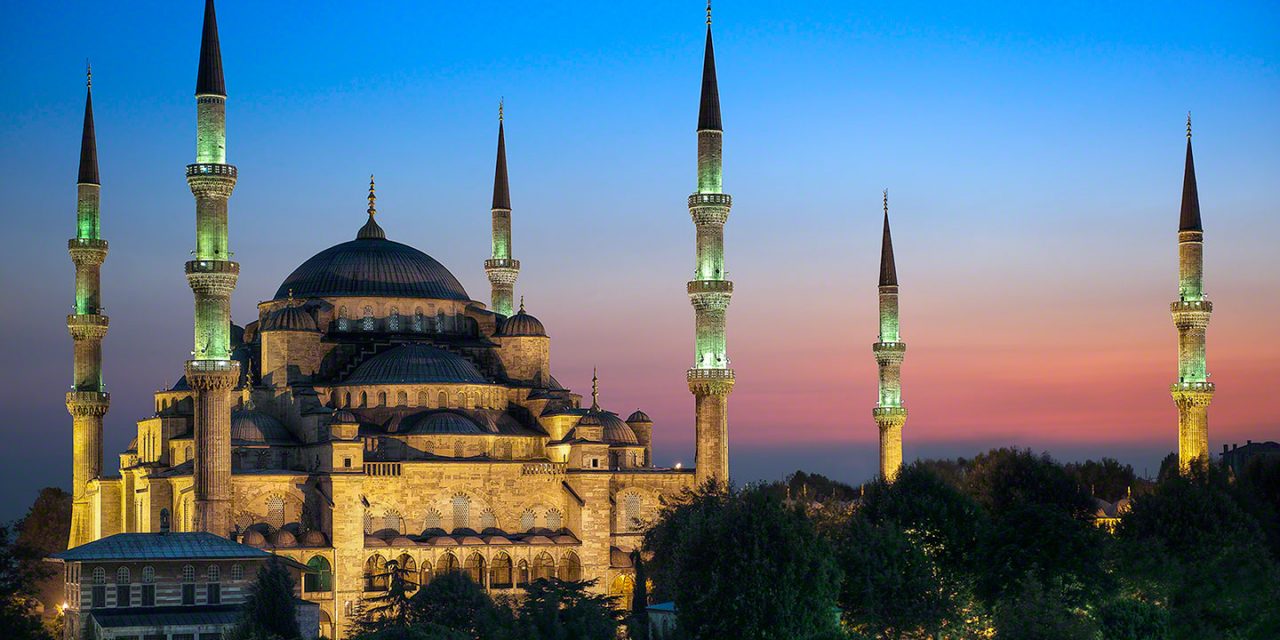
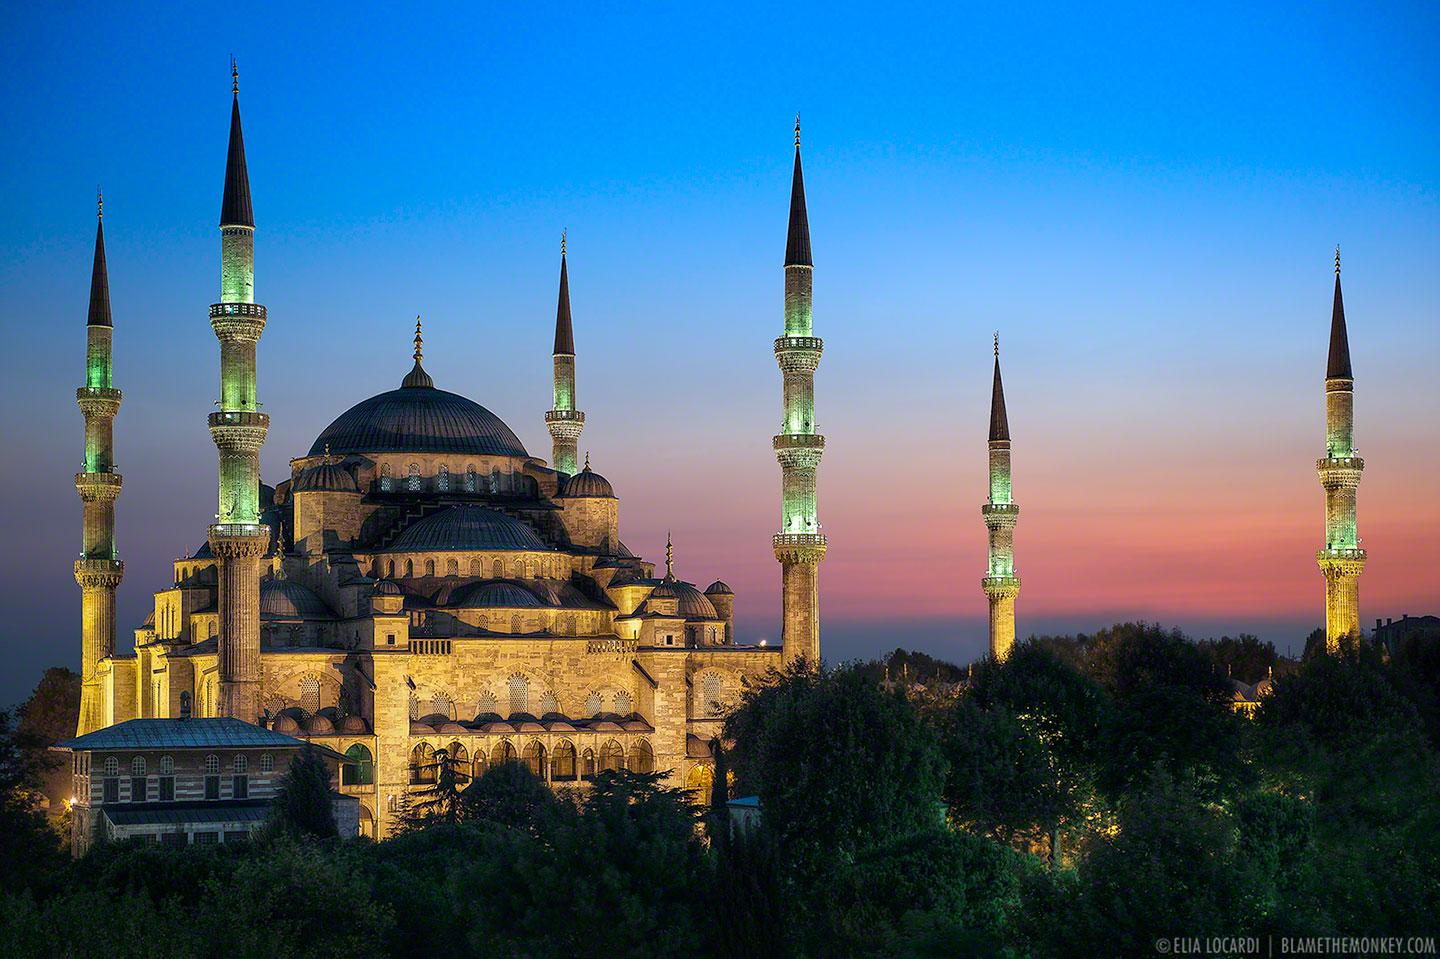
This is a very iconic view of The Blue Mosque (Sultan ahmed) in the old city. As you can see it’s lit up beautifully during the night.
When scouting for this shot, I had a specific goal in mind. I wanted to display The Blue Mosque with the best compositional layout, keeping a cool arrangement of the minarets (spires). I gave special consideration to the angle and sun position, trying to get a nice red to blue color shift in the sky. Sometimes these shots are really worth the effort.
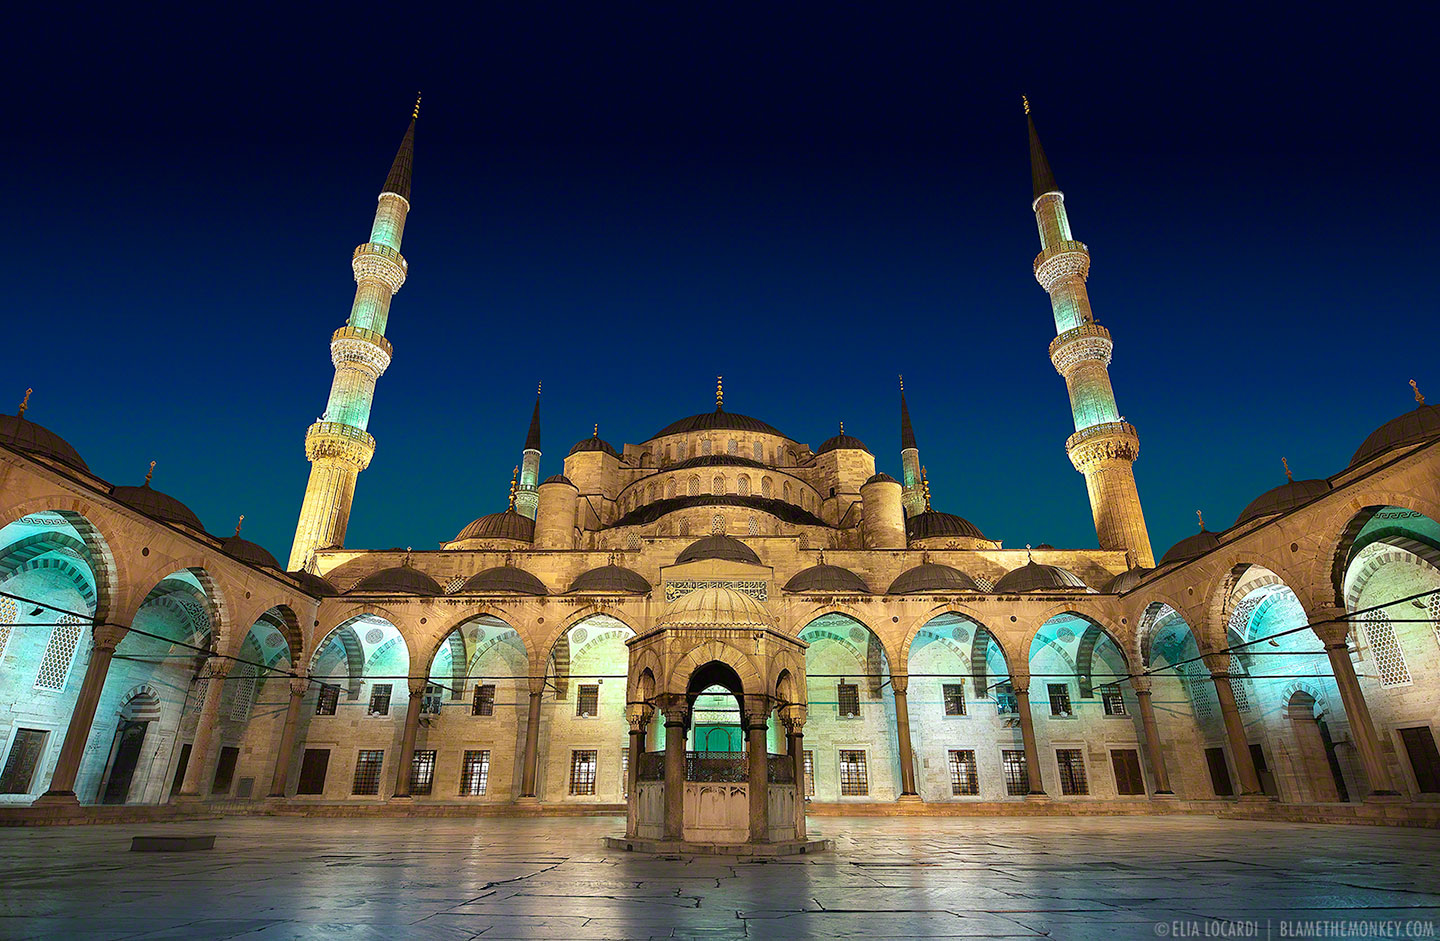
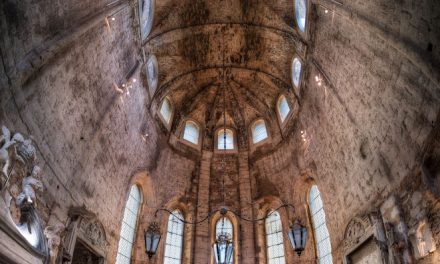
The Majestic Courtyard
Here is what the courtyard looks like inside The Blue Mosque. It’s quite beautiful in person and admission is absolutely free.
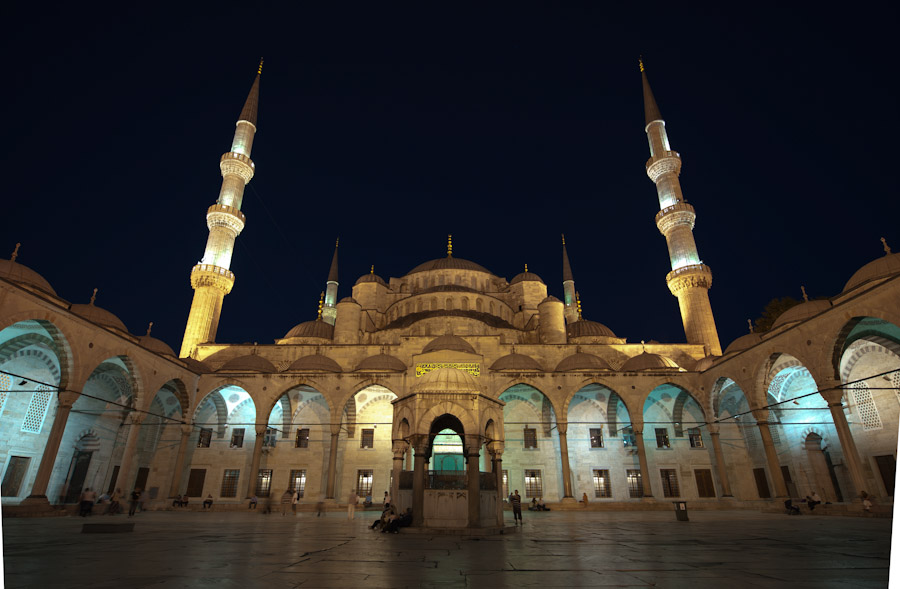
Before and After – Removing Unwanted Objects
Sometimes scouting locations is the easy part & it’s the time of day that becomes tricky. Even when you think you got it figured out, things don’t exactly go as planned. I wrote a fun little article about choosing the right moment for photography. Check it out.
This primary goal for this photo, “The Majestic Courtyard,” was to capture the dramatic lighting at night. The secondary goal was to minimize the amount of people in the shot. Unfortunately, while the lighting was phenomenal, there were still way too many people in the shot.
So, I decided to give early morning blue hour a shot. I knew that there would be absolutely nobody there at 6am so I got up really early. I was right. The only problem was, none of the interior blue and green lights were on and it gave the scene a more flat and yellow look… Crap.
I had a decision to make. Take a loss with the lighting and go with the easier photo to process. The other option was to keep the shot with the good lighting and spend a few extra hours in post.
So I did the most logical thing possible. I spent 2.5 Hours removing all the people with the Photoshop Clone Stamp. 😉 I couldn’t help it. I was totally in love with the lighting.
Check out this Post Processing Before and After to watch all the people magically disappear.


